

Unboxing and demo clips get reused more than any other kind of product footage. A clip shot for a TikTok post ends up on the Shopify listing months later. A demo filmed for one marketplace gets repurposed for another.
In that recycling, the footage picks up things that no longer belong on a live product page. Usually, editors’ deal with a screen-recording watermark from whatever app captured it, a seasonal sale badge that’s long expired, or a leftover template logo from an editing tool used earlier.
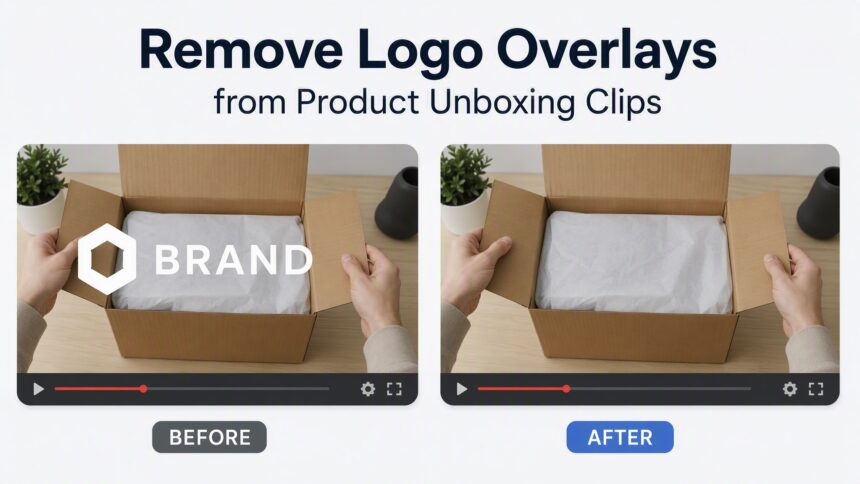
None of that is intentional branding; it’s just residue. But on a marketplace listing, residue reads as unprofessional at best and as someone else’s IP at worst. Both Amazon and Shopify are picky about unrelated logos or platform chrome showing up in product video assets. Here is how to fix that.
Clean the overlay before anything else
Fix the watermark before any other editing, because enhancement or colour correction run on a visible watermark will sharpen every detail in the video clip, including the watermark. Static logos in a plain corner are simple enough, but unboxing footage rarely gives you that. The branding is usually sitting over hands, packaging, or a busy tabletop background, which is exactly where basic removal tools tend to leave a visible smudge.
Vmake Labs updated Smart Pro mode specifically for this kind of case. Its ability to detect and clear overlays sitting on busy backgrounds and animated or effect-based elements has improved with the last update.
So if you need to remove watermarks from videos where the logo is layered over moving hands or product texture rather than a plain background, this mode is designed for it. Auto mode handles most clips in one pass; manual box-select is there for the rare frame where something is missed.
How to remove watermarks from videos
Step 1: Open Vmake Labs’ watermark remover and upload your video



Step 2: Select watermark removal mode, click “Apply,” and let the AI do the work
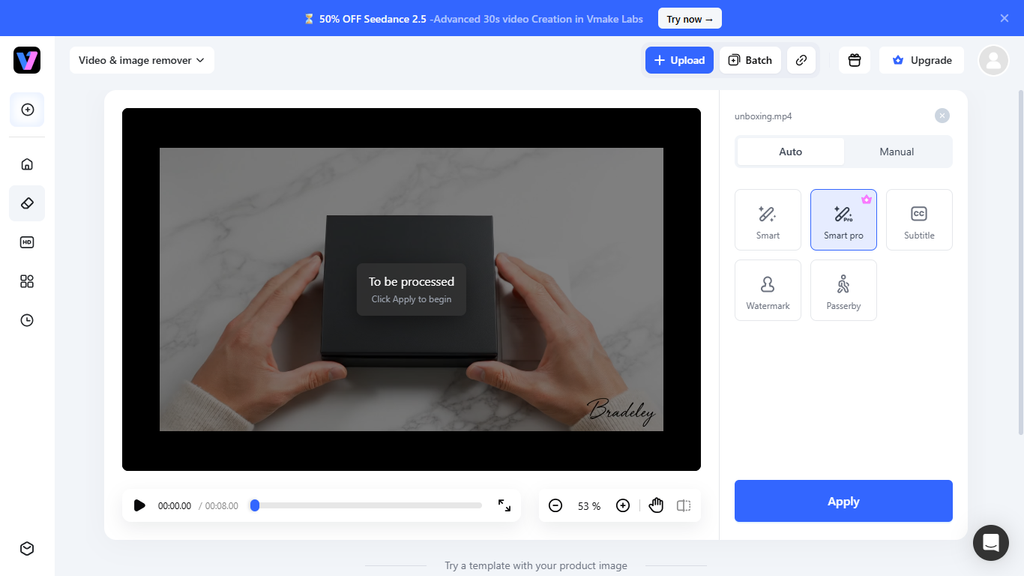
Step 3: Review the result and Download
Before using Vmake Labs’ Watermark Remover
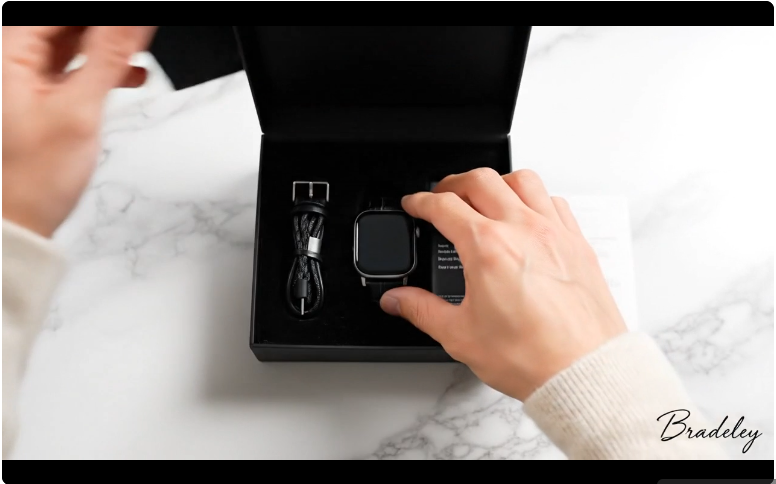
After using Vmake Labs’ Watermark Remover:
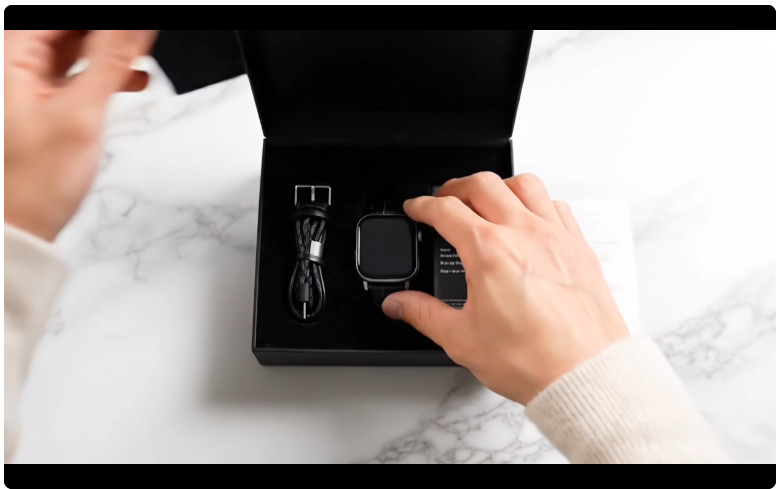
Then bring the footage up to listing quality.
Once the overlay is gone, the clip usually needs a resolution and clarity pass. This means you will need to enhance video quality and remove any grain and poor resolution.
Unboxing footage is often shot handheld on a phone, under mixed lighting, and re-exported more than once by the time it reaches a listing. Running it through a video quality enhancer closes that gap. Vmake Labs’ Master mode scales footage up to 2K, 4K, or 8K, and the Product scene mode is tuned for exactly this kind of e-commerce content.
Now, you have a tool that can sharpen texture and detail on packaging and product surfaces without over-processing skin tones in the same frame if a hand or face is visible.
This is how you can do that with Vmake Labs’ Video Enhancer
Step 1: Upload video
Step 2: Select mode, click “Apply,” and wait for the result
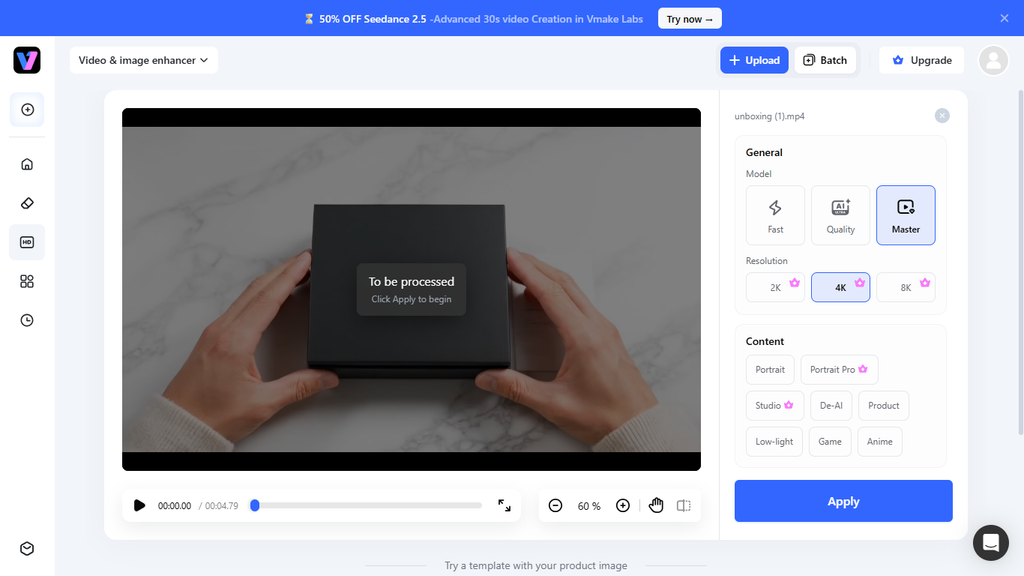
Step 3: Review and download
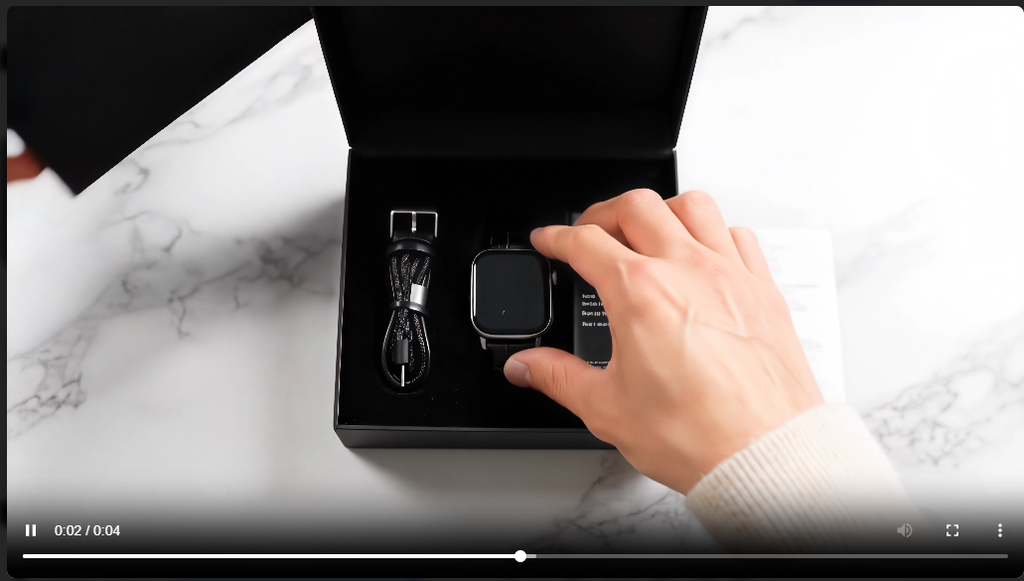
Before using Vmake Labs’ video Enhancer
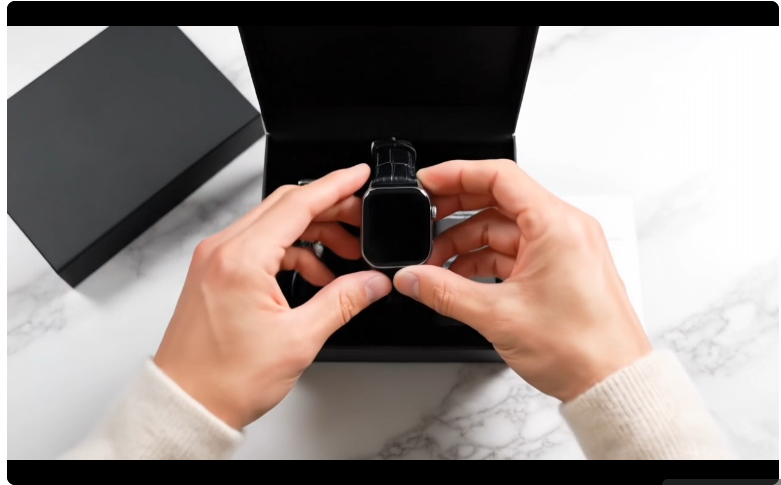
After using Vmake Labs’ video Enhancer
Before you upload
A short pass before the clip goes on a live listing saves a rejected upload or a return complaint later:
- Scan the full clip, not just the first frame. Overlays that move or fade in mid-clip are easy to miss on a quick scrub.
- Check both the video thumbnail and the playback. Marketplaces sometimes flag the static thumbnail separately from the video itself.
- Batch-process a whole shoot at once. If you’re clearing several product clips from the same recording session, batch upload handles up to 30 files in one run instead of repeating the process file by file.
- Preview before the final export, especially if the product itself has reflective packaging — busy backgrounds are where automatic detection benefits most from a quick manual check.
Getting this right once, before the first upload, is a lot less work than fixing a listing after a marketplace flags it.